Using handmade soaps can have more benefits than you may know, one being that your skin will thank you for the moisture, but how do you make handmade soap last longer?
However we have found that many persons state that their handmade soaps don’t last as long as their commercial soaps.
Well this may be true mainly because most persons treat their handmade soap like a commercial soap when in fact they are very different.
Once you realize that your natural soaps are made differently than commercial soaps then you realize that you have to treat them differently in order for your handmade soap to last longer
Keeping them in the same conditions as your toilet or detergent soap will result in the overall soap melting away and your money with it.
Here are ways to make your handmade soap last longer
- Avoid Hot Water
- Use a soap saver
- Let Air dry
- Allow longer cure time
- Avoid using your hand
- Keep away from excess water
1. Avoid hot water
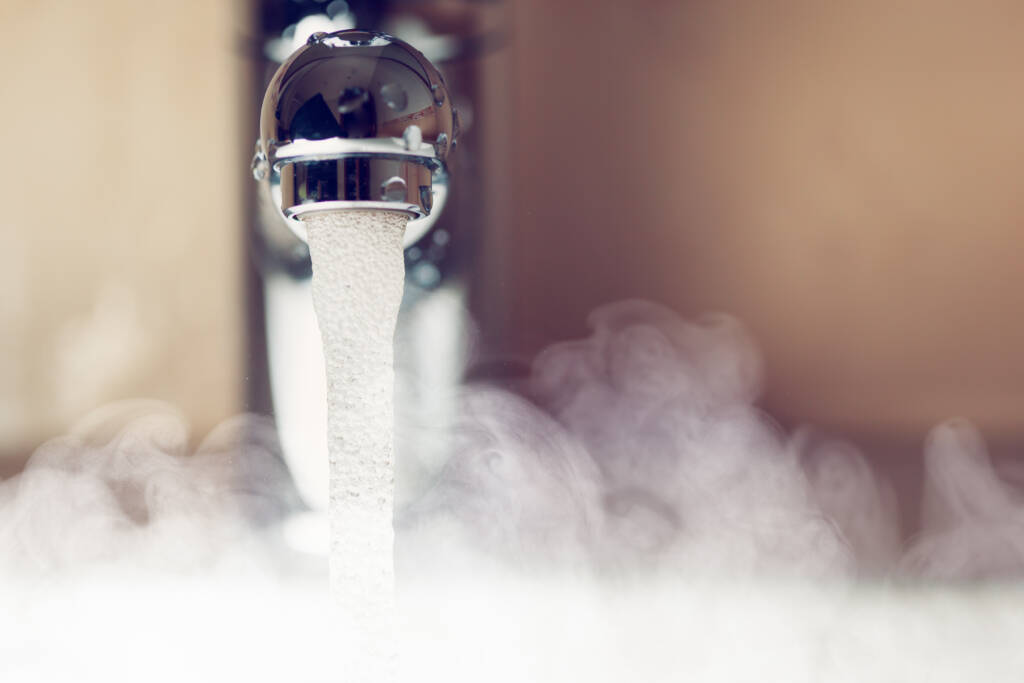
Hot water heats up the soap just as it heats your body. This means that the soap will begin to melt faster than you can use it.
Hot water may feel good on your skin but it has it drawbacks when it comes to using soap and moisturizing your skin.
Keep in mind that handmade soaps are made from natural oils, these oils are the bases of making natural soaps.
Its the same as thinking of these oils the same way you do when cooking, as many people use them to cook. Heat melts oils doesn’t it?
So when you use your super hot, steamy bath, sauna shower… you are affecting the oils in your soap and hence causing them to melt.
Melted soap will drip and waste away from all that heat quickly. If you’re not sure of this, look at your soap dish after a few days of leaving your soap in all that hot water.
You will notice thick residue of soap at the bottom of the dish.
So do yourself and your soap a favor and help allow your soap to last longer by using lukewarm to cold water… well lukewarm so you can get your warm feeling when taking your shower.
I must admit however that there is one caveat to this solution. The maker of your handmade soap should have allowed the soap to cure for the appropriate amount of time.
A well cured soap will last longer even in a hot and steamy shower. So if your soap melts really quickly yo may want to ask your supplier how long do they let their soaps cure.
2. Use an appropriate soap dish or soap saver to make your handmade soap last
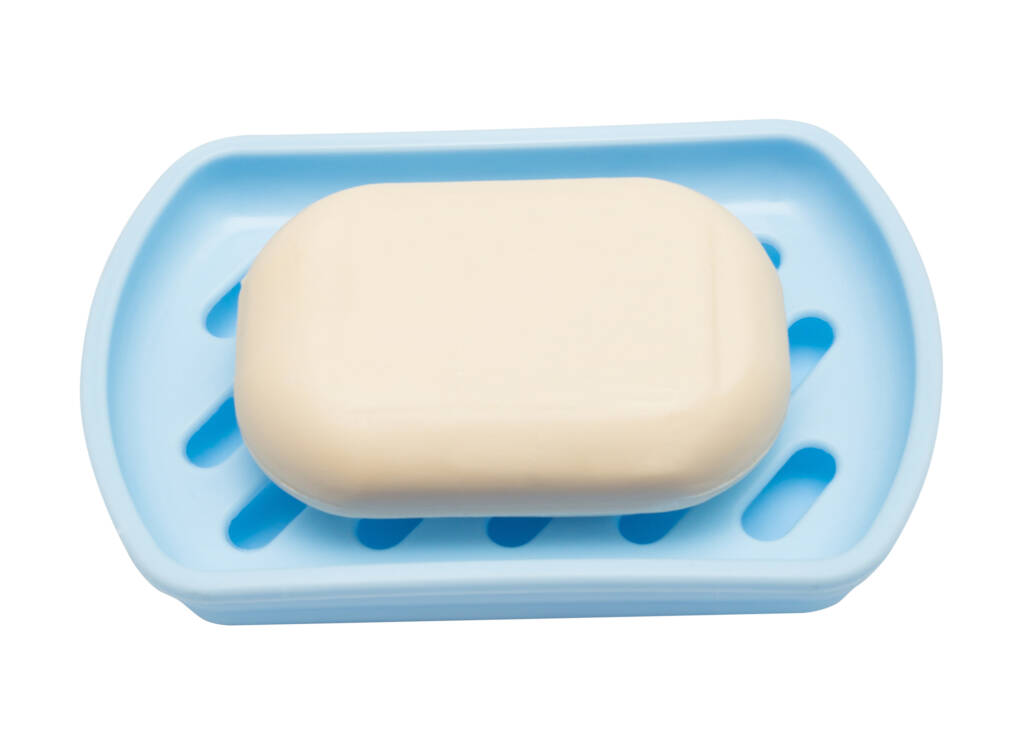
Having an appropriate soap dish or a soap saver goes a long way in ensuring your handmade soap last longer.
Be sure to have one that allows adequate air to flow over and under your soap.
In the case of using a sponge saver the parts that may melt away can be reused with the soap as the soap gets trap inside the sponge and makes it a soap sponge.
Take a look at the article does you soap need saving for info on soap savers.
To find an appropriate soap saver you should keep these few details in mind.
Find a dish or saver that will allow the maximum amount of air to flow over and under your soap while in the dish.
You may notice that many soap dishes have minor ridges at the bottom of holder, this can be seen in those wall soap holders we have in the bathtub area.
These are just not sufficient to save your soap. Water collects in the groves and it makes the situation worse.
Find one with higher ridges and is at an angle to allow water to run off.
Another ideas is to find one that has slats to allow the maximum amount of air to flow over the top and the bottom of the soap.
This will help your soap to dry quicker and hence you prolong your soap because it does not sit and stew in its own heat and wetness that makes it melt.
Suggested soap dishes that can help make your handmade soap last longer.
Wooden soap dish with drain

Silicone soap holder

Soap dish with drain

Stainless Steel Holder

3. Let air dry if possible
After using a bar of soap you want to have it air dry when ever possible.
Some persons have bathrooms with windows, if you do then open the window, place your soap and soap saver in the window sill and let the cool air flow over your bar of soap.
Placing your soap in an appropriate soap dish and in the window will ensure the soap drys fast and last a long time in between use.
Traditionally in the Bahamas, bathrooms were built alongside and outside wall. This would allow you to place your soap and soap dish on an window sill to quickly dry out.
In modern times however houses are building inner bathrooms so there are no windows to use.
A better suggestion is to simply keep your soap in well ventilated soap dish and in an area higher than your bath tub.
This will keep the soap away from the majority of moisture which tends to lurk around your bath tub top.
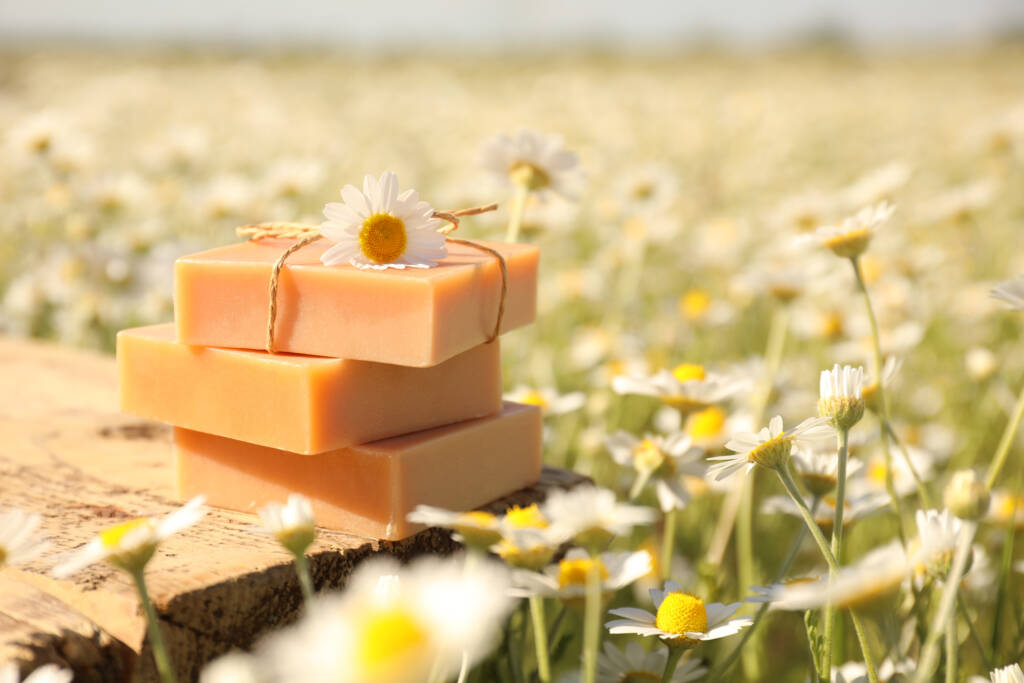
4. Allow to cure a little longer

When you purchase your handmade soap, its pretty much had time to fully cure at that time but a little more curing can go a long way.
Curing is the process where the soap would loose water weight and helps make the bar harder.
Typically with cold process soaps. They are ready to use withing 3 days, however they still retain a lot of moisture. This moisture added to a warm bathroom and moisture will cause your soap to melt faster.
You can continue the curing process once you bring your soap at home by firstly purchasing more than one.
This will give the other bars more time to cure and dry out while you use the first bar of soap.
If your bar is in plastic wrap, take it out and keep your bars in basket as decorations until you are ready for them. This will allow them to cure/dry out even more for a longer lasting bar.
Its good to note that handmade soaps are made with distilled water it is this water that evaporates during the curing processes leaving behind the product known as soap.
The longer your soap has time to dry out and shed that extra water the harder your bar will be.
Glycerin and moisture
Another reason you want to let your soap dry a bit more is for the bar to trap in all the glycerin in the soap.
Glycerin is a natural byproduct of the soap making process. It is this moisturizing agent that naturally attracts moisture to the soap and to your skin when you use it.
Commercial soaps speed up this process of drying when they separate much of the glycerin and other good stuff from handmade soap and replace it with their chemical equivalents.
The chemical agents used in commercial soap to mimic natural glycerin makes their soaps extra hard and this is why they last longer.
A good dry out time for hand made soaps is usually about 30 days however I’ve tested soap that i allowed to dry out for up to 3 months and they are harder and do last longer.
Be sure to ask your soap seller how long they cured their soap for an idea of what to expect.
Bare handmade soap storage and drying racks for the home
If you purchase loaves of handmade soap or bulk for your family, you can store your soap in a cool dry place bare without the packaging.
This will allow the soap to further dry out and help your handmade soap last longer.
A few suggestions that can be used at home
3-Tier Stackable Cooling Rack

Drying Tray Stackable – 3 Trays

3-Tier Cooling Rack

5. Avoid using your hand when showering

Some like the towel while others prefer their hand or bare soap to skin.
Although either way is acceptable we know that using your bare hands or direct skin contact can actually use more soap than using a wash cloth.
How? Well a towel can retain the suds once its lathered and you can reach more of your skin in a few wipes than direct contact.
When using your hand or soap to skin it takes more soap to produce a good lathe. This means you often rub the bar on more frequently using more of the soap.
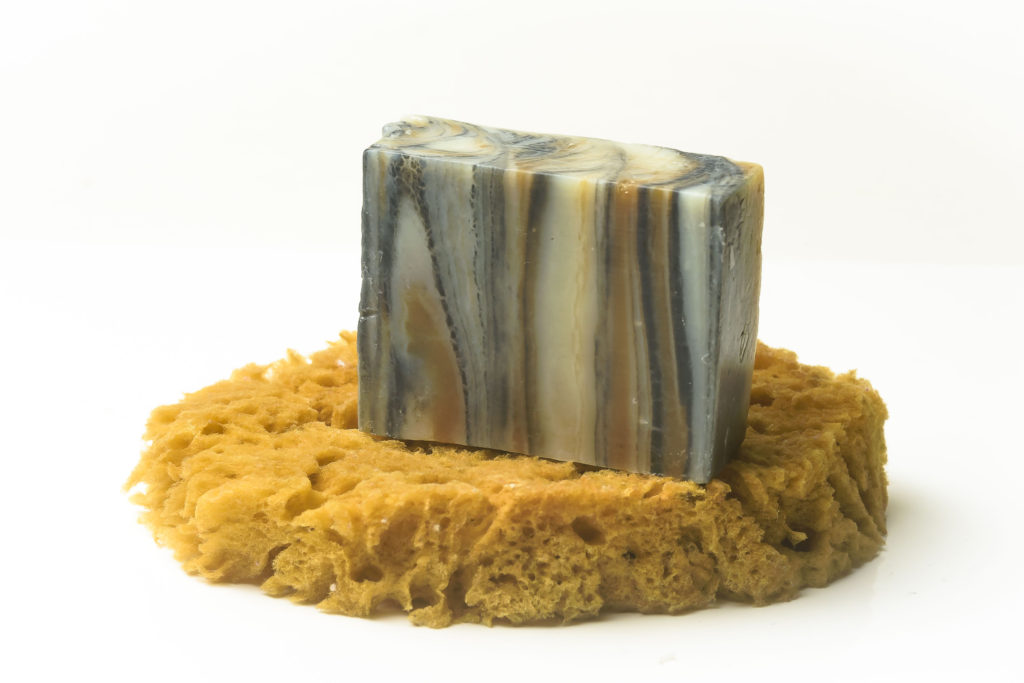
If you are not interested in a towel consider a loofah or natural sponge. A natural sponge is better. Take a look at our partner My Bahama Sponge for great natural sponges.
NOTE – When lathering your wash cloth, do not use it the same way you would with commercial soaps.
Keep in mind commercial soaps add chemicals that mimic lather but natural soap lather quicker and the lather is thicker which is better at removing dirt and grime.
As normally rub your soap on your wash cloth once and then rub the cloth together to build up your lather.
This first lather will be enough to wash your body.
6. Keep soap away from unnecessary water to prolong handmade soap.
Keep soap away from water?
That doesn’t really make sense in a shower however what I mean to say is that while you are lathering your body you may tend to leave the soap in your hand, on the corner of the bathtub or on a rack under the shower head.
This exposes the bar to more water and being wet especially with hot water will melt the soap loosing precious days of soap usage.
So while in the shower or bath tub remove the soap from direct contact with water. Use a soap dish if you can at the back of your shower works well.
Or you can place the soap in the window sill to begin drying out.
Conclusions on how to make handmade soap last longer
If you follow these tips you can extend the life of your handmade soap as long or longer than a commercial soap.
It is actually quite easy but it does require you to change your thinking and habits on the usage of the soap
You must also realize that you are using something different, a natural hand made soap, on your skin hence the rules of usage and maintenance will be different.
Have fun and enjoy your natural bars of soap and use them for as long as you can.