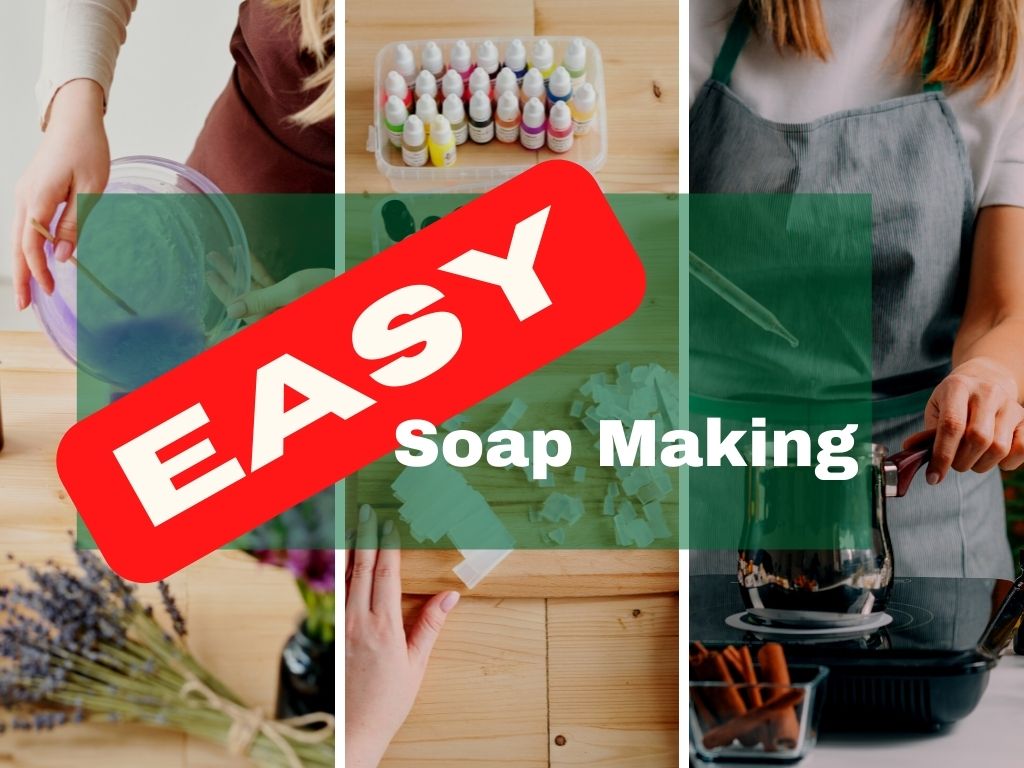

Making melt and pour soap is fairly simple, however there is no substitute for having the right tools for the job. The 6 tools needed to make melt and pour soap are a scale, mold, spatula, double boiler, thermometer and a soap cutter.
With these tools and of course your safety equipment like gloves, eyewear and long sleeve shirt making melt and pour soap will become easier and easier as you practice.
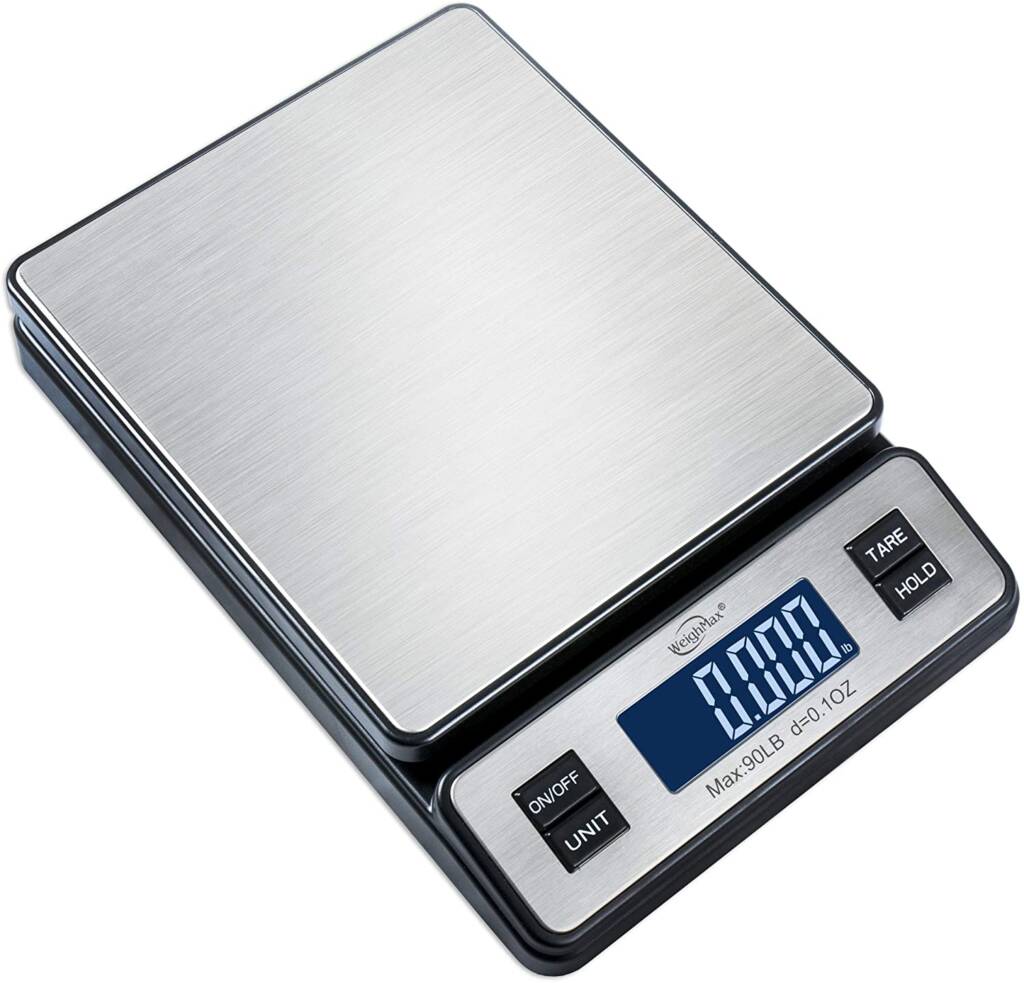
Food grade scale is needed to make melt and pour soap.
Soap making is actually a rather precise technique. Knowing how much of an item is required and making sure the right amount is used is a basic rule of soap making and melt and pour soap making is no different.
Having a good food grade scale will ensure your heavier items are measured properly. This mainly refers to the actual soap base.
The good news is that 1oz of melt and pour soap base will take up the same amount of space as 1fl oz of water. Hence if you have a soap mold that holds 6oz of water, it will also hold 6oz of melted soap base.
The reason a food grade scale is mentioned is because there are several types of scales on the market. In fact within the food grade or kitchen scale segment there are various types as well.
When choosing a scale make sure it can measure ounces and pounds and if you use the metric system grams and kilograms.
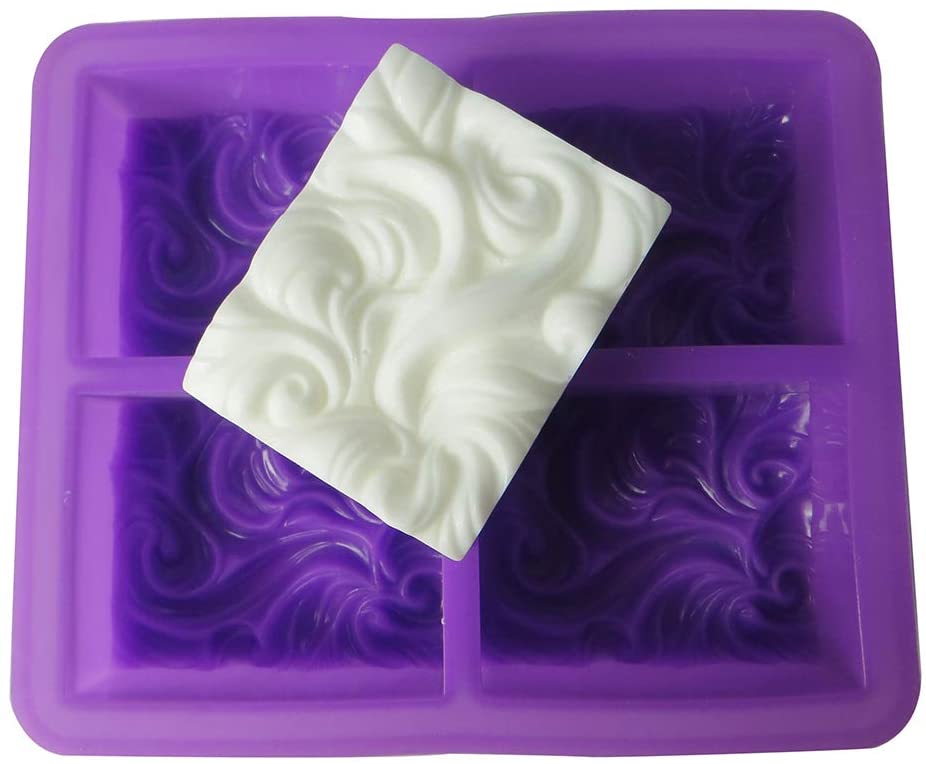
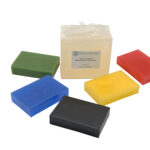
Soap mold for your melt and pour soap.
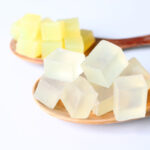
Although melt and pour soap can be used straight out of the package, chances are you will want to have more manageable bars of soap rather than one huge 1 or 2 pound block.
To make bars of soap you will need some form of mold to shape your soap. The beaty of melt and pour soap is that you can use any type of heat resistant container once its flexible enough and has a wide enough opening to remove the soap once its solidify.
This means you can use traditionally store bought molds of various shapes and sizes or you can use items from around your home such as containers or even an old milk carton.
Molds help you to make various shapes from circles to rectangles and everything in between. Larger mold however will require you cut your soaps into smaller pieces for use, this is where the use of a soap cutter comes into play.
View our suggested soap molds or purchase one of the molds we have in stock in our online store
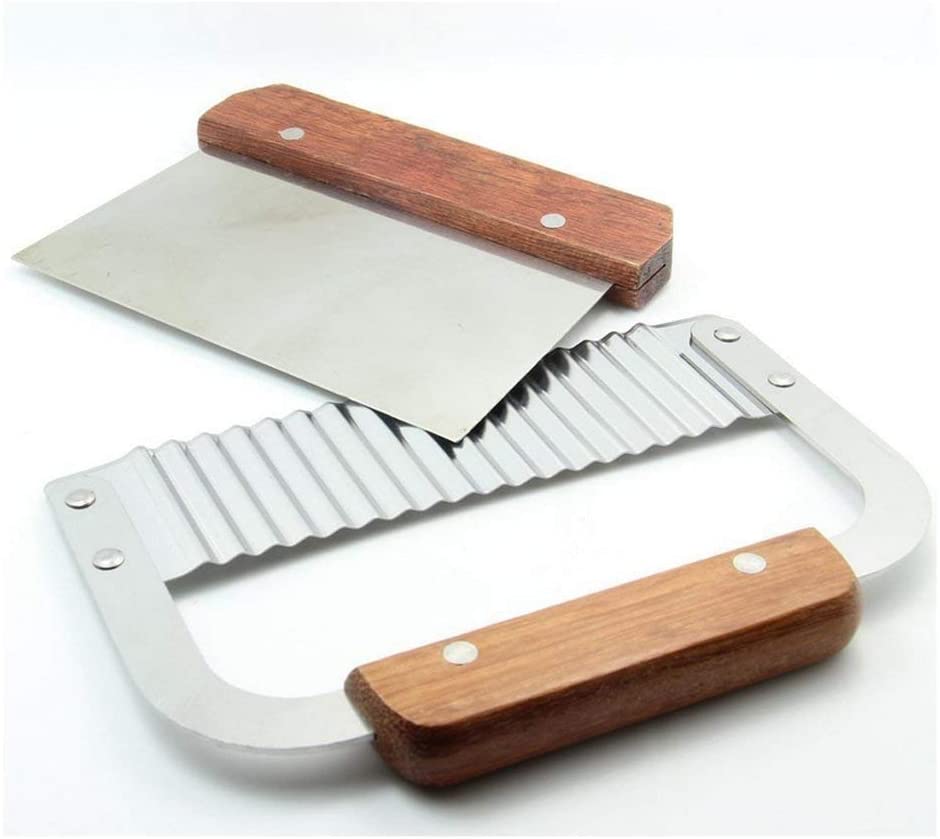
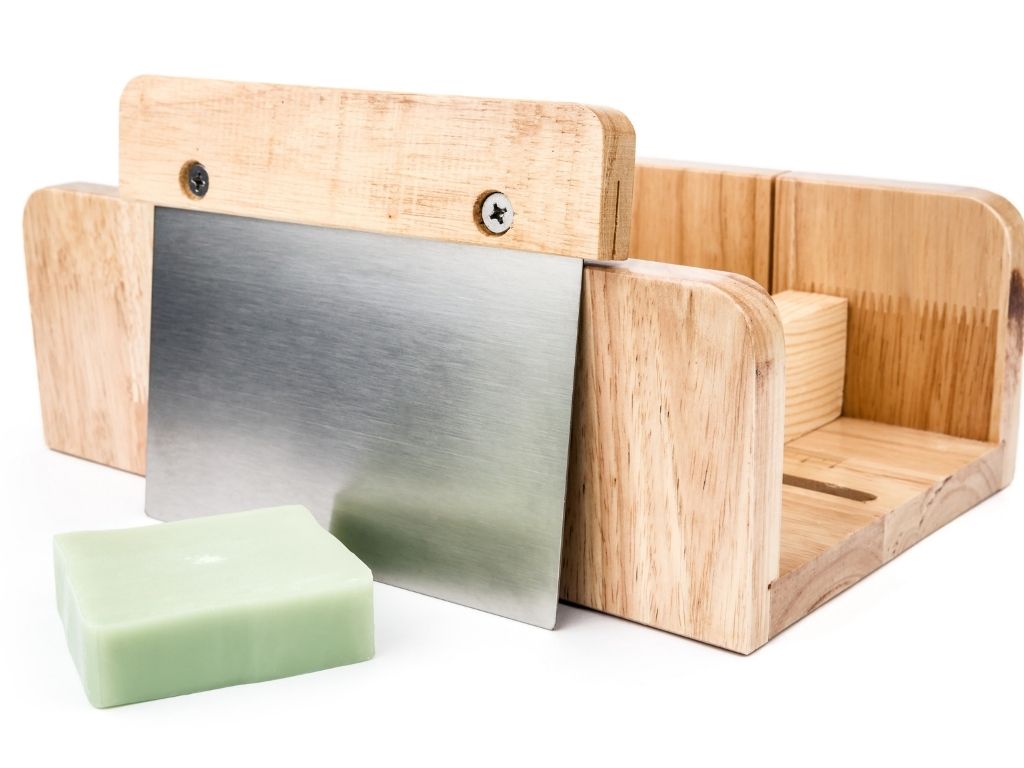
Soap cutter to cut melt and pour soap.
Soap cutters are an essential tool in melt and pour soap making. It comes in last on the list however it can be used in more than one way in cutting soap.
There are a few ways to cut your soap, mainly using a hard plastic knife while some prefer and actual steel knife. The use of a wire cutter similar to a cheese cutter and lastly the more popular metal soap cutter.
The metal soap cutter come in two types. The crinkle cutter and the straight cutter. These are used to cut your soap in to more manageable slices especially when you have used a long soap mold like the traditional 42 oz soap mold.
The soap cutters can also be used to style your soap by adding a mixture of cuts that make your soap in to a soap crystal, give it a wavy top or cut it into other shapes.
Either way the soap cutter is a tool you will need in your melt and pour soap making kit.
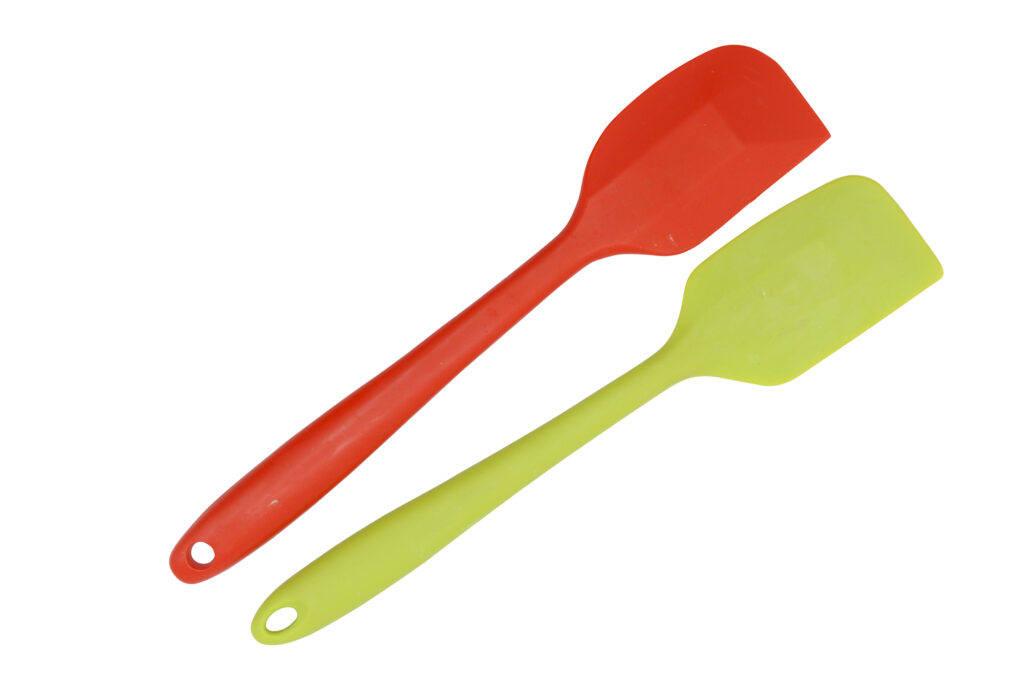
Silicone spatula for soap making.
Silicone spatulas are very versatile and they can withstand high temperatures. This makes them ideas for making melt and pour soap.
Spatulas are used mainly to stir melting soap base as its a delicate matter of keeping the temperature constant enough to melt your soap.
A technique used is to heat the soap base and allow some of the base to melt. With this heated portion use the spatula to stir the soap base and allow the heat from the melted soap to begin to melt the un-melted soap.
When it reaches a point where no more soap is melting your heat it again in the microwave for a few seconds and use the spatula again to stir and melt. This ensures that your keep the overall temperature of the soap below the burning temperature of 140-160° F.
A spatula is also used to help stir in additives such as powders or micas and even help incorporate fragrances. This hand tool will save you lots of time when working with melt and pour soap.
Double boiler or heat tempered container.
Of course to be able to melt your soap you will need some tool to do it with. There are two main accepted methods for melting melt and pour soap base.
The first is to use a double boiler pot and the second is to use a heat tempered container and use a microwave to melt the soap base.
To use a double boiler you will need a pot with water and a melting pot with a pouring spout. The water in the first container is heated while the melting pot and soap is added to the heated water.
Heat transfer from the boiling water into the heating pot melts the soap base. This gives you the time and control to keep your soap base at a certain temperature by adjusting the heat of the stove.
The second method calls for a heat tempered container preferably a pyrex type measuring cup that you can add the soap base to in chunks and heat in the microwave at 30 second intervals.
The soap will melt fairly quickly especially if you use the spatula to help melt un-melted soap.
Which ever method you use having a container to melt your soap base is for sure needed.
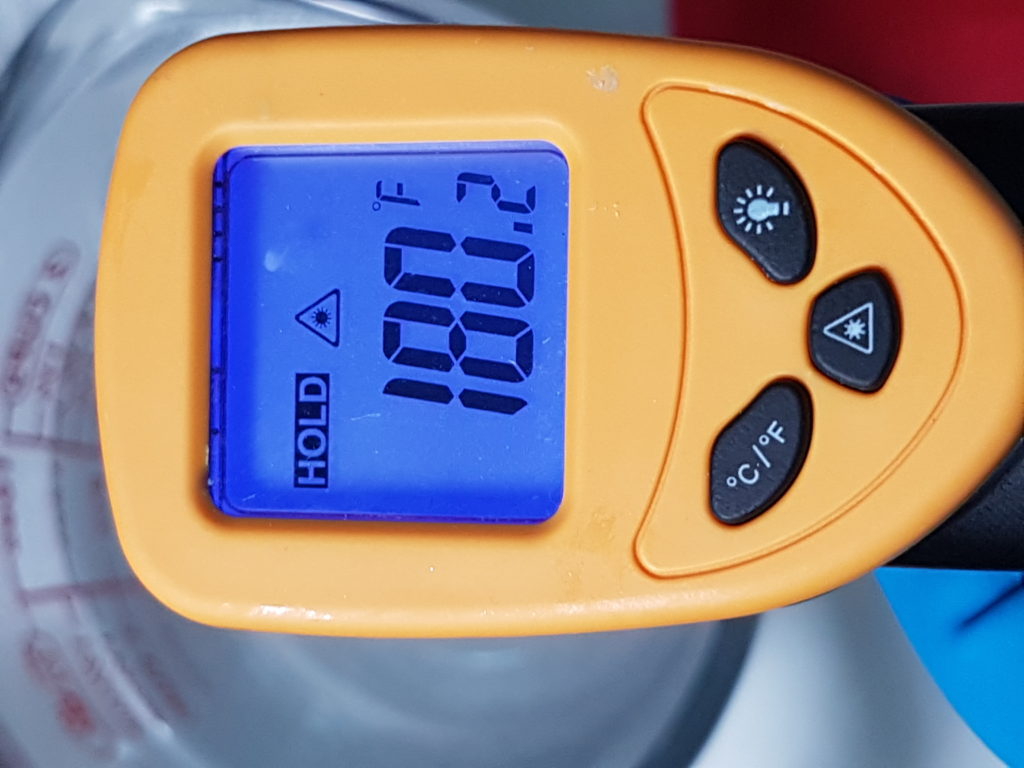
Infrared thermometer is needed to make melt and pour soap.
Unlike cold process or even hot process soap making, melt and pour soap making can also be made without monitoring the temperature of the soap but it is definitively not recommended.
Some soap bases melt quicker than others while others tend to cool down faster. Having an infrared thermometer to keep watch over the heat of the soap base is the best way to ensure you are at the right temperature for melting, adding fragrance, adding botanicals or even when working on complex designs.
The infrared thermometer is quick and accurate enough that you can have it near by and check the soap at each stage of its development.
Bonus tool needed to make melt and pour soap – cling wrap
Cling wrap is not needed to make melt and pour soap but it is definitely needed to prevent your soap from sweating.
When melt and pour soap is left exposed to air the glycerin in the soap will begin to attract the moisture from the air and form little beads of water and glycerol. This is called soap sweat.
Cling wrap is very low cost and warping your soap in it will keep it away from humid environments and it will help prolong the shelf life of the soap after its made.
This may sound silly but if you plan to sell your melt and pour soap, remember many customers do not know about melt and pour soap sweat and may be alarmed if they return to their bathroom to see crystalized moisture on their soap.
Final words
Melt and pour soap making is fairly easy, however it becomes more exciting when you have the necessary tools to get the job done right and on time.
Make sure to have these few basic tools in your soap making kit as they can also help in other techniques for soap making.